
Over the past year or so, my husband and I have been exploring this little realm in Foodie Land known as fermenting. Now, through many phases in history, all over the world, people have been fermenting their foods for a very long time. I, on the other hand, am just now discovering this beneficial bacteria-producing way of preserving vegetables and I am quite enjoying it. There is still much to learn, but adding this natural probiotic into my repertoire of plant-based know-how somehow makes me feel somewhat cultured in my culinary pursuits.

These cultured, fermented, pickled veggie side dishes are all the rage these days. Kimchi, lacto-fermented pickles and sauerkraut are some of the popular ones touted as being a wonderful way to cultivate those little microorganisms that work each day to keep your belly bacteria in balance. For many of us, maintaining a healthy environment for that essential gut flora to thrive can be a pretty tricky balancing act (especially in this particular chapter in history I like to refer to as the Antibiotic Age). My husband and I started experimenting with fermenting as a way to support that delicate balance and heal some dysfunctional gut issues. Through the process, we have grown to adore our fermented veggies and it is always a sad day when the last of the kraut hits the plate. Now that is something significant coming from a gal who was never willing to even try sauerkraut and who absolutely detested the sight and smell of the kimchi that her adopted Korean brother always loved to eat. I do not claim to be knowledgeable in the art of culturing or fermenting foods and this post is not, by any means, a tutorial. In fact, I just spent the weekend reading up on the topic and what I learned is that I don’t know much about such things at all. But if you know anything about me, you how I love exploring, learning and sharing my delight in little discoveries. Especially in the kitchen.


After experimenting with different vegetables and various ways of slicing, dicing, layering and spicing, my husband and I have settled into a comfortable rut with what has become our Favorite Four. Our four personal favorite veggie combinations and our preferred way of preparing them. Though these fermented veggies are not necessarily difficult to make, it tends to be a bit of a project with the shopping, the chopping, the mess and the washing up when you’re done. So, I always try to make 4 jars at a time and be done with it for a while. Since the fermenting process preserves the vegetables, they can sit in the fridge for quite a long time and it’s nice to have a variety on hand. Of course, inevitably they do run out and it takes at least 5 days (maybe longer) for these to ferment to the point of our own personal liking. Now, if one planned ahead, one could have a new batch brewing and stewing on the counter while finishing off the jars in the fridge. That’s how my hubby would like it to be in our house…unfortunately for him, I don’t often work that way.
There are different types of vessels and assorted accessories you can use in your fermentation process. Naturally, my favorite is the simple mason jar. I’ve tried jars in assorted shapes and sizes, different types of seals and lids and a couple ways of weighting the vegetables as they ferment. What I have found works best for me (and this is just my personal preference), is the quart-sized mason jar, these plastic lids and these nifty glass weights. It helps to have a food processor for grating and slicing, but certainly you can use a hand grater and a mandoline. Salt is essential for this particular process and apparently the type and quality do matter. I’m still learning up on those types of things, but what I have been using is a finely ground sea salt with no additives or anti-caking agents that I am able to find in my local grocery store. Now, the method that we use for fermenting vegetables in our household might be considered cheating a bit, at least for sauerkraut. Supposedly, a true kraut is made using the salt to extract liquid from the cabbage. The liquid then becomes the brine in which it ferments. This method involves massaging the cabbage and some waiting time and since I don’t have much time for waiting, I simply use a saltwater brine because it’s quick and easy. One day I might find myself cultured enough to truly know the difference and advance beyond my amateur ways. But for now, this works for me. It is important to use pure spring water and make sure your jars and accessories are nice and clean. And then, of course, you need your vegetables.


I only use organic produce for my ferments because I’m a little leery of chemicals and pathogens making their way into my healing remedies. Like I mentioned before, we have concocted a few different cabbage-based blends that have become our personal favorites. I have mine and he has his, but together we have four favorites. For 3 of those we use green cabbage as a base and for the other we use red. Our regular combos include:
- Green cabbage, carrots, cauliflower and radishes
- Green cabbage, kale, red and yellow bell peppers
- Green cabbage, carrots, brussels sprouts and radishes
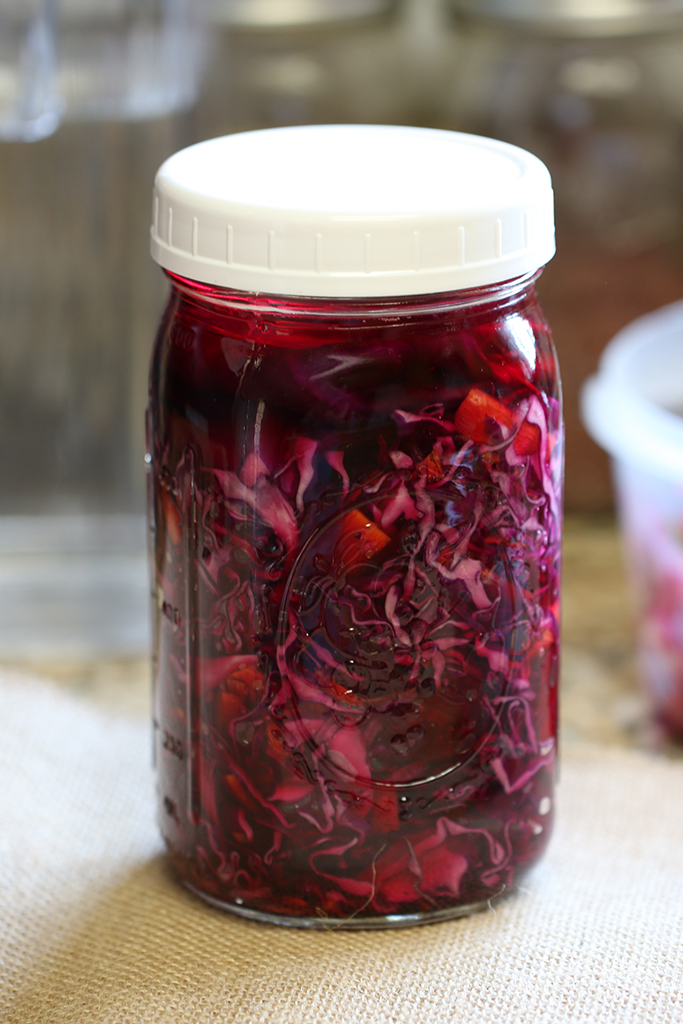
- Red cabbage, carrots and beets
We like our vegetables sliced thin for a more sauerkraut style, but you can slice and dice them in such a way that they become more like vegetable pickles. Keep in mind, when I refer to pickling, it does not involve vinegar at all. These are made using just a saltwater brine to preserve or “pickle” the vegetables. After I slice, chop, grate or dice my vegetables, I mix them in the proportions that I like and pack them into glass jars. It is important to compact them as much as possible to eliminate any pockets of air. There are tools you can buy for that, little pounders or tampers, but I just use my fist and fingertips.


When I am preparing my vegetables I always make sure to reserve one whole cabbage leaf for each jar. These will be used to help keep the vegetables submerged in the brine during the fermentation process. After the vegetables are tightly packed into their jars, I take a whole cabbage leaf, fold the outer edges underneath and tuck it into the jar in such a way that it forms a barrier between the vegetables and the top of the jar. On top of that, I like to use these little glass weights to keep the vegetables completely submerged in the liquid. Once everything is tucked in nice and snug, I fill the jar with the saltwater, which I make using roughly 1/4 cup salt to 2 quarts of water. I make sure to leave enough space at the top to allow the liquid to expand, while making sure the vegetables are completely covered by the liquid. Then I cover the jar loosely with the plastic cap and set my jars aside on the countertop to brew for a few days.


As the vegetables begin to ferment the liquid will begin to bubble, gurgle and grow, so it’s important to keep the lid or covering loose enough to allow air to escape as the pressure builds. They say you should “burp” your veggies once in a while by loosening the lid to relieve the pressure. I have learned, through trial and error and a few minor explosions, that it is wise to store your jars in some sort of container or on a baking sheet to catch the inevitable spillage that will occur. I found this refrigerator storage bin that fits my 4 jars just perfectly and it helps keep my countertop nice and clean during fermentation. We find that our ferments are usual ready to eat after 5 or 6 days, but that is based on our own personal tastes. From what I have read in various places, 4-14 days seems to be a common time frame. When they are ready, I remove the weights and cabbage leaves, press the veggies down into the brine using a fork, tighten the lids and store them in the fridge.


Our Favorite Four will see the two of us through about two weeks. We usually serve them on the side of a main dish, but I also enjoy them on top of a salad, in a nourishing veggie bowl, mixed into coleslaw or rolled up in some homemade sushi. We enjoy a small side of cultured vegetables with just about every evening meal, unless of course I’m not on the ball in planning ahead and the supply is depleted before a new batch is completed…which is most of the time.


Last year my hubby bought a beautiful little book all about the process of fermenting vegetables. This weekend, I finally took the time to indulge in some weekend reading and learn a thing or two about this practice of fermenting foods. If you are interested in learning about the process and benefits of fermented vegetables, I highly recommend Fermented Vegetables by fermentistas Kirsten and Christopher Shockey. It’s a lovely little read, I enjoyed it so much and I learned a whole lot. I learned that I don’t know much about something I do on a regular basis. I said it before and I’ll say it again, I am in no position to be giving you a tutorial on fermenting your vegetables. My purpose in sharing is not to educate, but rather encourage you to try something new, to continually explore, discover and cultivate your love of those little things in life that help you maintain the delicate balance.


Go on now, try something new. Explore, discover, enjoy the process :)
